By Steve Fox, Managing Director OBMI BVI
For this issue, I thought I’d write about the design process; to give a summary, from an architect’s perspective, of the typical steps necessary for the creation of a successful design. Of course, no two projects are exactly alike, but there is a certain pattern to things—from the very first meeting to the completion of the construction documents to give to the builder. So, here’s my attempt to condense nearly 30 years of architectural training and working experience into this short article.
- Meet to discuss the project requirements

The owners and the architect meet on the site or in the office to discuss the objectives of the project. The owners may have a very clear mental picture of what they want, or they may only have very vague initial ideas. The initial meeting (or meetings) should aim to establish the basic program—a number and size of bedrooms and bathrooms, general ideas for the type of living, dining and kitchen spaces, thoughts on aesthetics, style and materials, outdoor space ideas, pool and garden requirements, and functional requirements and preferences—to AC or not to AC? Bug screens or not? General site issues should be discussed, such as orientation and views, sun path and winds, accessibility, and the steepness of the slope.
- Agree the budget, building program and fees

Following on from the initial information-gathering, a building program schedule can be produced. This is a very useful tool, to set out in a clear format all the project requirements, with an anticipated area associated with each space, and typical construction costs applied on a per-square-foot basis, with allowances included for foreseeable elements such as retaining walls, the driveway and parking areas, and landscaping. This will result in a preliminary construction cost budget, which, once agreed by the owners as a manageable target, can be the basis for the agreement of the professional fees.
- Get a topographical survey done
For most construction projects, it’s a good idea to obtain a topographic survey of the site, encompassing the entire lot, or a defined key area of the lot. The survey will provide fairly precise information, usually at 2-foot contours, on the lay of the land and any major features such as boulder outcroppings and important trees. It will reveal most of the nuances and subtleties of the site; any slight shifts and variations in the orientation and steepness of the slope. The CAD information generated by the land surveyor can be used directly by the architect, to start to model the site on computer, in 2- and 3-dimensions.
- Create initial concept sketches

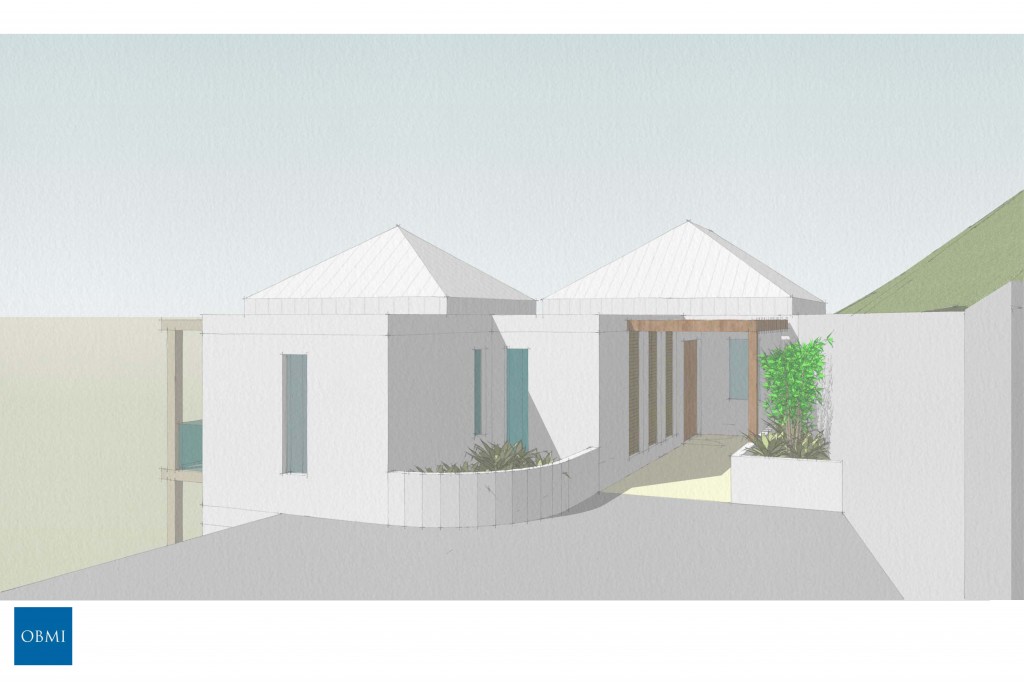
Working with the target programme and the site information, the designer can begin to sketch out ideas. We all have our own ways of doing this; I like to alternate between hand sketches and CAD outline drawings; scribbling down thoughts and ideas in my sketchbook, creating little diagrams exploring the possible relationships of the spaces and the positioning of buildings on the site, and testing these ideas for scale and accuracy in outline form on the computer. Out of these explorations, a schematic design emerges; a clear, robust direction for the project which aims to meet the owner’s needs economically and aesthetically.
- Communicate, refine the design
The key to a successful project is good communication. The personalities of the owner and the architect need to be compatible, and the architect needs to be a sensitive and perceptive communicator of ideas and issues. The schematic design needs to be illustrated to the owners so that they fully understand what’s being proposed, and the owners in turn need to look at the design very carefully to satisfy themselves that it’s to their liking and is meeting all their needs. Once the schematic direction has been established, the design can be developed and refined. This is an iterative process: the gradual addition of layers of information, meetings to discuss progress, initial meetings with the structural engineer, drawing to scale in more detail, determination of building materials and components, making adjustments to stay on budget. Once the design has been developed so that all the major aspects are drawn to scale and the intent is firmly set, the drawings can be submitted to Town and Country Planning for approval.
- Produce the construction documents; engineering and utilities, finishes, fixtures, fittings, windows, doors, details
The remainder of the process focuses on the technical aspects of the project; the production of the drawings and other documents for construction. It’s important to work with a structural engineer who’s familiar with the local conditions and the current building codes for seismic and hurricane conditions, to design the structure properly but efficiently. Materials should be specified and the building should be detailed for good constructability and durability. We now use the latest BIM software to model the entire project in 3d, which virtually eliminates the old-fashioned risk of having drawings which don’t coordinate with each other.
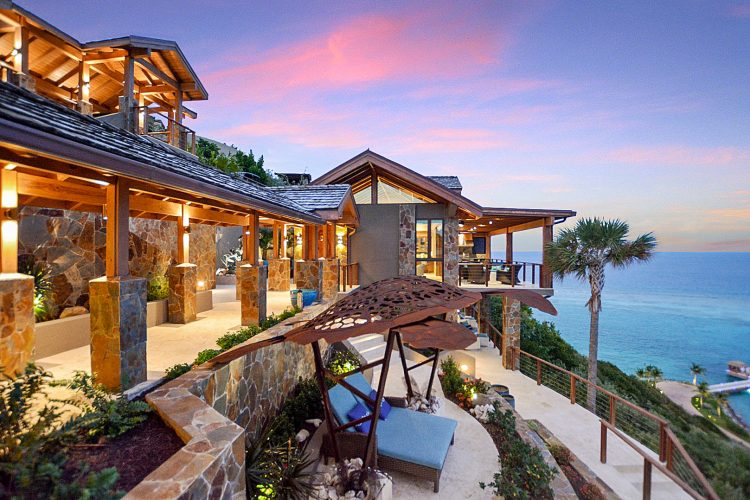
This is only a simplified summary of the process. But it should give a basic taste of what we do as architects. It’s rarely simple—there will be inevitable complications and unexpected twists and turns along the way—and we always need to be flexible in our approach. But with the right balance of creativity, experience and good communication, it’s very rewarding to see a unique new home design emerge and develop.