By Robert Creel, Operating Manager of Caribbean Colors and Sjoerd Bos, Vice President of Sansin
Property owners and contractors are increasingly demanding “greener” choices for interior stains. The issue arises that many interior coatings contain harsh solvents that release highly toxic fumes – known as VOCs, or Volatile Organic Compounds – into the air long after application.
For property owners and contractors alike, applying stain indoors can pose health risks; however, there are less toxic alternatives on the market that are much lower in VOCs, using water to penetrate deep into the tissue of the wood for protection with staying-power and an aesthetically attractive appearance.
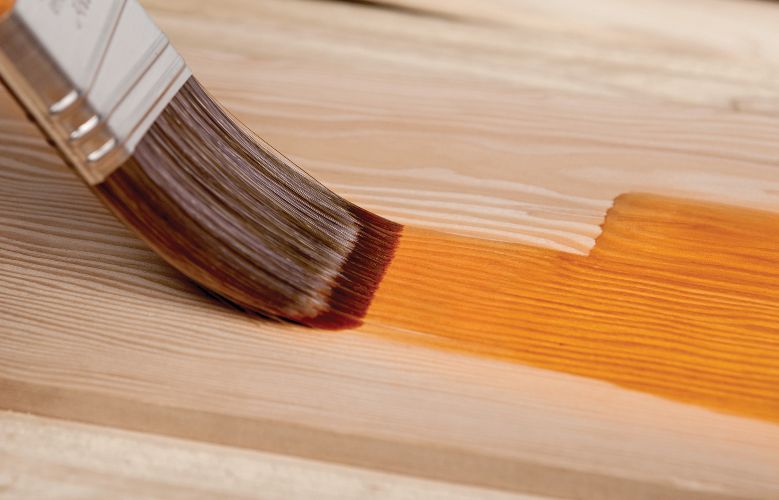
One area that has been a challenge for driving down toxicity in interior stains is colour. Many consumers desire a rich, deep colour for interior staining.
With newer technology, consumers can find dye-like colours in a formulation that uses pure pigments ground so fine, they are able to combine with the protective oils and resins on a molecular level. The result is vibrant, crisp colour that stands the test of time, but with a fraction of the toxicity of traditional dyes.
Tips on Interior Staining
Successfully applying stain is really not difficult, it just takes a little prep work and patience – here are a few steps for success:
Know your wood species: Maple and pine can be very difficult to apply finishes to, while it is easier to apply stain to hardwoods such as oak. Also, darker stains are more difficult to work with than lighter ones. If you plan to use a dark stain, you might consider practicing on a scrap piece of wood before diving into your project.
Prepare the surface: Repair any defects with acrylic-based wood filler. Sand the surface using 120-150 grit sandpaper, working with the grain. Then remove the dust with a vacuum and a damp cloth, making sure the surface is clean and dry.
Collect the right tools: For most jobs you will need the stain and topcoat, a stir stick, a tray to hold the stain, a brush or sprayer to apply the finish, 120- 150 grit sandpaper, paper towels, a paint pad or lambs wool applicator, and perhaps a sanding block (depending on the size of your project).
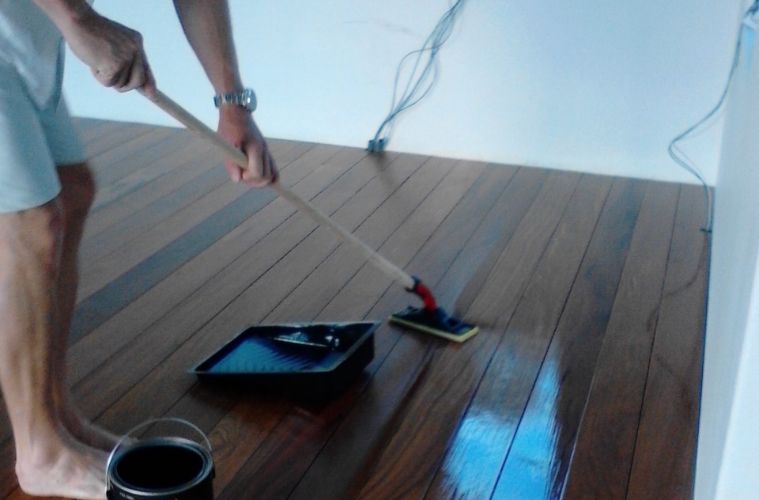
Apply the stain and topcoat: Apply a generous amount of stain to the surface, not allowing it to become too thin. Generally, most projects require two coats of stain. After staining, you will apply two coats of clear topcoat, stroking with the grain of the wood to avoid streaks. Before applying the final top coat, sand the surface gently with 320 grit sandpaper, working with the grain of the wood.
After cleaning the surface, close vents and doors to keep any contaminant from landing on the just-finished surface. Then, apply a thin final clear coat with the grain of the wood.
 For many homeowners, applying interior stain can be challenging – and messy. Go ahead and test stains out at the store and look for the following performance characteristics:
• Make sure it has little to no odour
• Check that the stain is easy to apply. It should have excellent lapping performance, and have an extremely uniform appearance once applied
• A fast dry time is best
• Check that there is minimum pigment transfer on the top coating
• You should be able to purchase the interior stain in a range of dye-like colours that don’t drive up the toxicity.
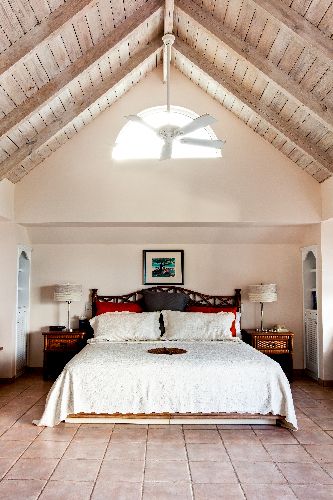
Staining Shows off the Grain
Staining and clear-coating wood, rather than painting it, creates a unique, sophisticated and timeless effect inside the property.
Staining brings out the interesting and complex character of the wood grain, which can add tremendous warmth to your décor and provide a long-lasting, striking effect.
[ts_fab]